


How to Build a DIY Power Bank
Learn How to Build a Custom Power Bank from Scratch!
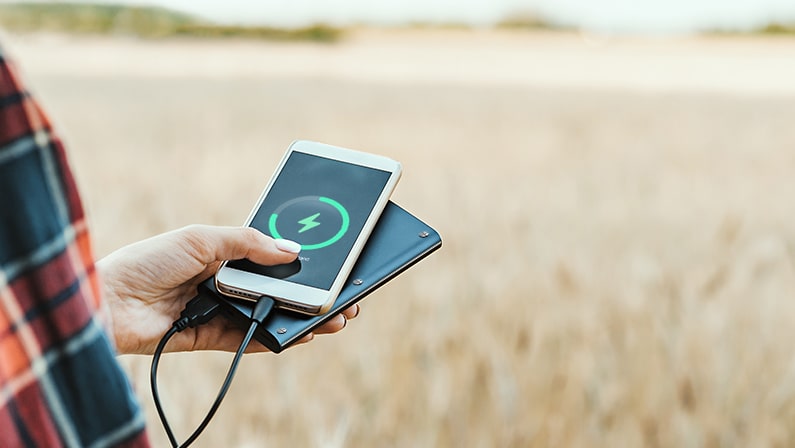
Power banks revolutionized mobile electronics, storing enough energy to power a smartphone for days! Have you ever wondered if building a power bank on your own is possible? While it might be complicated, creating a DIY power bank is possible, and it's a rewarding and educational experience! It'll teach you about electronics, battery management, and 3D printing, giving you a hands-on opportunity to learn and create something useful. However, the process does require basic manufacturing skills and access to special equipment. Plus, safety is crucial when working with lithium-ion batteries to prevent hazards like short circuits or overheating.
Required Materials
-
3D Printed Case: Use CAD software to design or download a 3D case design from websites like Thingiverse. The case should have slots for batteries, the charging board, and adequate ventilation. The design should use PLA or ABS filament. The case can be printed using a 3D printer, or you can source it from online 3D printing services.
-
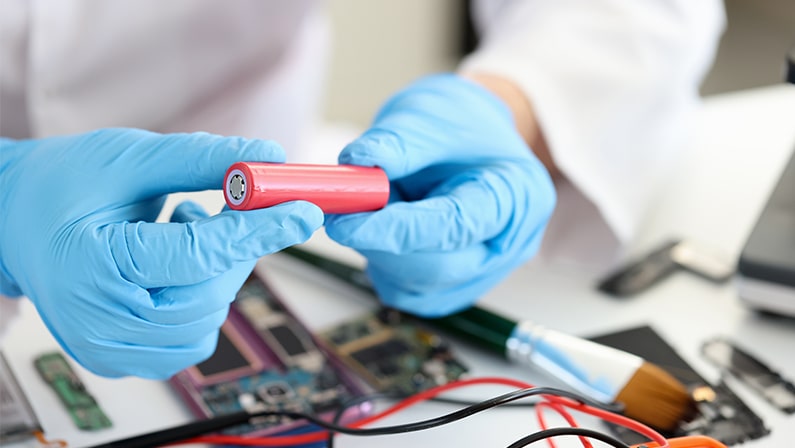
18650 Lithium-Ion Batteries: These are rechargeable batteries commonly used in portable electronics. We will use two 18650 batteries for this project to keep it simple, but you can use more to increase charging capacity.
-
Note: Source 18650 batteries from a trusted electronics vendor like Illumn, 18650 Battery Store, or a similar reputable store. Do not buy 18650 batteries from Amazon, eBay, or AliExpress. It's important to ensure your batteries are high-quality to avoid safety risks.
-
18650 Charging Board with Overcharge, Overdischarge, and Short Circuit Protection: This all-in-one module will include a battery management system, boost converter, and charging circuit. These days, there are many options, with features like LED displays, fast charging, and multiple different outputs (USB-C, micro-USB, lightning, etc.). These boards can be found on electronics supply websites and marketplaces like Amazon, Digi-Key, or AliExpress.
-
Spot Welding Tools: We will use a spot welder with pure nickel strips (Ni200 or Ni201, 0.127mm thick) to connect the batteries. This ensures a safe and reliable connection without the risks of soldering directly to batteries.
-
Soldering Tools: A soldering iron and solder are necessary for making electrical connections between the charging board and the other components.
-
Heat Shrink Tubing: Used to cover and protect components in the power bank; available at hardware stores and online retailers.
-
Wires: Use 22 AWG or similar for making connections. These can be sourced from electronics stores or online.
-
Hot Glue Gun: Optional, but useful for securing components within the case. Available at craft stores and online.
-
Multimeter: Optional; for testing electrical connections and ensuring proper voltage levels. These can be purchased from hardware or electronics stores.
Step-by-Step Process:
Step 1: Print the Case
Use CAD software to create a case design, or download a 3D design from a 3D model database. Ensure the design includes slots for batteries, the charging board, and adequate ventilation. Use a 3D printer to print the case with PLA or ABS filament, and check that the printer settings, like layer height and infill, are set for optimal results.
Step 2: Prepare the Batteries
To prepare the batteries, we will connect them in parallel for increased capacity while maintaining 3.7V (connecting in parallel means connecting the positive end to the positive end and the negative end to the negative end). Use a spot welder with pure nickel strips (Ni200 or Ni201, 0.127mm thick) to connect the positive terminals of the batteries together and then the negative terminals together. Take safety precautions: work in a well-ventilated area, and wear safety glasses and gloves.
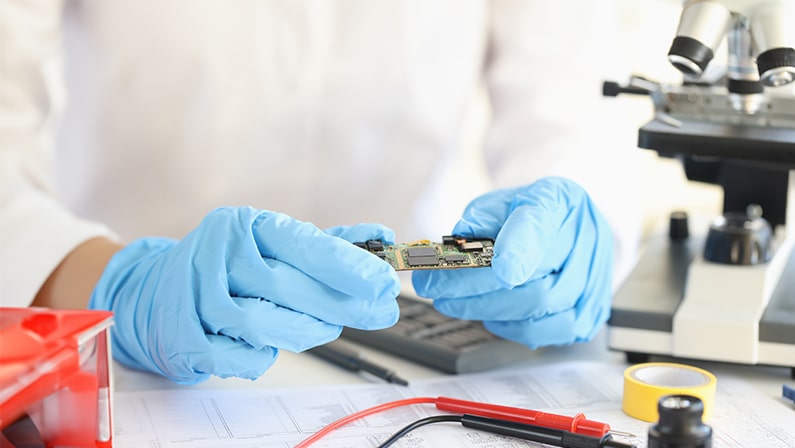
Step 3: Connect the Charging Board
The 18650 charging board is a crucial component of your power bank. This board will include a battery management system, a boost converter, and various output options. Start connecting the charging board by soldering wires from the positive and negative terminals of the battery pack to the B+ and B- terminals on the charging board. Use the 22 AWG wires for these connections, and make sure that the wires are securely soldered and insulated with heat shrink tubing to prevent short circuits. Verify that the charging board is securely connected and the ports will be accessible inside the case.
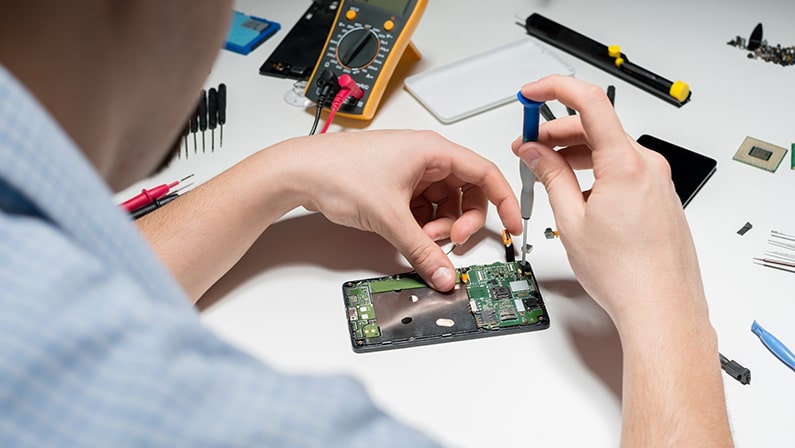
Step 4: Assemble the Components in the Case
Place the batteries and the charging board into the designated slots in the 3D printed case, double-checking the fit of components before securing them. Use hot glue sparingly to secure the components, ensuring there are no short circuits and that proper ventilation is maintained. Close the case and secure it with screws or clips as per the design, making sure no wires are pinched or strained when closing the case.
Step 5: Test the Power Bank
For the initial test, connect a device to one of the USB ports and check if it starts charging. Monitor the charging process for stability and any issues. When charging the power bank, plug it into a charger using the input port, and ensure the charging board properly regulates the charging process. If the power bank does not work, recheck all connections, ensuring they are connected correctly, and there are no loose wires or faulty solder joints.
Step 6: Final Checks and Safety
Use a multimeter to check the voltage at various points to ensure proper connections. Perform heat testing by charging the power bank for an extended period to ensure it does not overheat. Safe operating temperatures should be maintained, and any signs of excessive heat should be addressed by checking for potential short circuits or faulty components.
Is Making a DIY Power Bank Worth It?
Creating a DIY power bank can be an educational and rewarding experience! It lets you dive into the world of battery management systems and proper electrical connections. However, it's definitely not the most time-efficient solution! If you love DIY projects and want a custom power bank that showcases your personal style, this project is worth it. You'll gain new skills and have a unique product you can proudly say you built yourself!
Get Customized Power Banks in Bulk With Logotech!
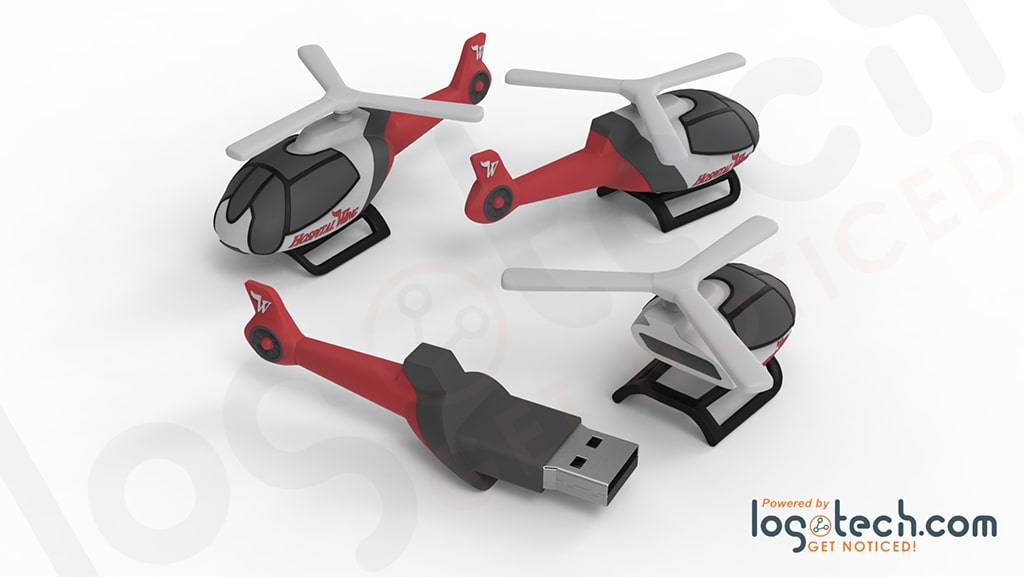
If you need a larger quantity of customized power banks or are short on time, building them individually may not be practical. In these cases, Logotech is the best place to get high-quality, customized power banks! We offer thousands of power bank options that can be personalized, and we offer bulk orders, ensuring you get exactly what you need without hassle. Additionally, we can produce custom-shaped power banks to represent your popular products or a mascot! These power banks are conversation pieces that can double as fun desk ornaments.
Making a DIY power bank is feasible and fulfilling for those interested in electronics and 3D printing. While it might not be the quickest way to get a custom power bank, the knowledge and experience you gain are invaluable. Enjoy your custom-built power bank and keep your devices charged on the go!
Frequently Asked Questions
Q: Where can I download a power bank case design?
A: You can download power bank case designs from websites like Thingiverse or MyMiniFactory.
Q: What software can be used to design the 3D printed case?
A: You can use any CAD software, like Tinkercad or Fusion 360.
Q: How do I calculate the total capacity of my DIY power bank?
A: Multiply the capacity of one 18650 battery by the number of batteries used in parallel. For example, two 3000mAh batteries in parallel provide a total of 6000mAh.
Q: How long does it typically take to build a DIY power bank?
A: It can take anywhere from a few hours to a few days, depending on your experience level and the complexity of your design.
Q: How do I dispose of my DIY power bank safely at the end of its life?
A: Properly recycle the lithium-ion batteries at designated recycling centers and dispose of electronic components following local regulations to minimize environmental impact.