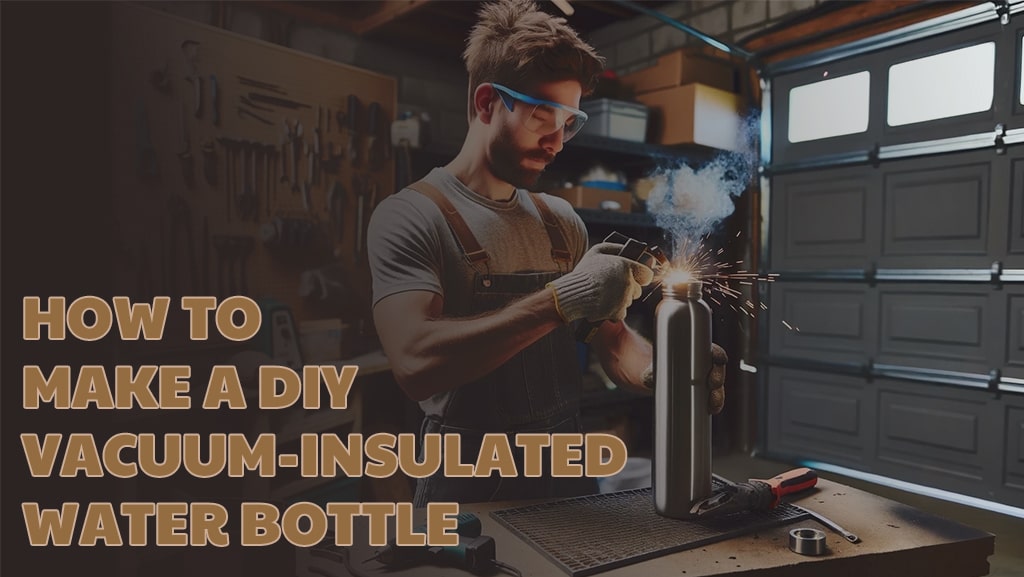
How to Make a DIY Vacuum-Insulated Water Bottle
Exploring the Practicaliity of DIY Steel Water Bottles
Insulated water bottles have become extremely popular, keeping beverages hot or cold for hours or even days! These bottles are practical and environmentally friendly, reducing the need for single-use plastics. The principle behind their effectiveness is vacuum insulation, which involves creating a vacuum between two layers of stainless steel. This vacuum minimizes heat transfer, keeping the contents at the desired temperature for much longer than a regular bottle.
DIY has become another popular trend over the past few years! DIY projects can be fun and enriching, offering creativity and a sense of accomplishment. But can you create a vacuum-insulated water bottle DIY? Making an insulated steel water bottle on your own is possible, but it's not easy! The process requires specific materials, access to specialized machinery, and advanced manufacturing skills. Let's review what you'll need before you get started:
Required Materials, Equipment, and Skills
To make an insulated steel water bottle from scratch, you need a range of materials, equipment, and skills:
Materials:
-
Stainless Steel Tubes: Use 18/8 (304) stainless steel tubes with a thickness of ~0.02 inches (0.5 mm) and a diameter of ~2.5 inches.
-
Stainless Steel Sheets: To create the bottom of the bottle, you will need sheets the same thickness as your tubes (.5 mm).
-
Cleaning Agents: Rubbing alcohol or acetone for cleaning and preparing the surfaces before welding and polishing.
-
Powder Coating or Spray Paint: Used for the external coating to give the bottle a durable and attractive finish.
-
Solder: Required for sealing the vacuum hole after creating the insulated space.
-
Polypropylene plastic: Used for creating the lid.
Equipment:
-
Pipe Cutter: Used to cut the stainless steel tubes to the required length.
-
Deburring Tool or Fine-Grit Sandpaper: To smooth out the edges of the cut tubes.
-
Access to a Water Expansion Machine: To shape the tubes into the desired bottle shape using high-pressure water.
-
Molds for Water Bottles: The molds are used in conjunction with the water expansion machine to ensure uniform shaping. You will need two bottle molds, with one mold being .1 inch smaller on the sides of the bottle and .3 inches shorter. This difference creates the space for vacuum insulation. The necks of the mold should be nearly the same size, with the inner bottle shorter and slightly smaller.
-
Metal Cutting Shear: For cutting the stainless steel sheets into the required shapes for the bottom and lid.
-
TIG Welding Equipment: Used to weld the various components together securely and smoothly.
-
Access to a Threading Machine: To create the threads on the bottle and lid, ensuring a secure fit.
-
Electropolishing Setup: For polishing the interior and exterior surfaces of the bottle to ensure they are food-safe.
-
Access to a Vacuum Chamber with a Heating Component: Used to evacuate air between the inner and outer bottles, creating the insulating vacuum. The heating component must heat up to at least 500 degrees Fahrenheit.
-
Heat Gun/Hair Dryer: This is used to test the insulation by heating the interior.
Skills:
-
Measuring and Cutting: Accurate measurement and cutting skills are essential to ensure that all parts fit together correctly.
-
Welding: Proficiency in welding is necessary to join the components securely and create smooth, continuous welds.
-
Threading: The ability to operate a threading machine to cut precise threads on the bottle and lid is necessary.
-
Polishing: The ability to operate the electropolishing process to achieve a food-safe finish.
-
Vacuum Sealing: Knowledge of vacuum machines and soldering to create and maintain an effective vacuum for insulation.
-
Safety Practices: Ensuring safe handling of tools and materials to prevent accidents and ensure product quality.
Once you've gathered the required materials and equipment and possess the requisite skills, it's time to get started! Without further ado, let's create an insulated steel water bottle!
Step 1: Cutting the Steel

To begin your project, you'll need 18/8 (304) stainless steel tubes with a thickness of ~0.02 inches (0.5 mm) and a diameter of ~2.5 inches. You'll also need a pipe cutter, measuring tape, and a deburring tool or fine-grit sandpaper.
-
Measure the Tubes: Use a measuring tape to accurately measure and mark the length of both the inner and outer stainless steel tubes. Precise measurements are crucial!
-
Secure the Tubes: Place each stainless steel tube into a pipe cutter, aligning the cutting wheel with the marked length. Tighten the cutter slightly to hold the tube firmly in place.
-
Cutting: Rotate the pipe cutter around the tube, applying steady pressure. After each full rotation, tighten the cutter incrementally. Continue this process until the tubes are completely cut through. This ensures clean and even cuts, which are essential for the later assembly steps.
-
Deburring: Once the tubes are cut, use a deburring tool or fine-grit sandpaper to smooth the edges. Deburring is necessary to remove any sharp edges or burrs, making the tubes safer to handle and ensuring a snug fit during assembly.
Step 2: Shaping the Tubes
For this step, you will need access to a water expansion machine and molds specifically designed for shaping the water bottle. The molds should be designed to create an inner bottle that is 0.1 inches smaller on the sides and 0.3 inches shorter on the bottom. This difference is crucial for creating the necessary gap for insulation.
-
Insert the Tubes: Place the cut stainless steel tubes into the water expansion machine, ensuring they are properly aligned with the molds. Proper alignment is crucial to prevent deformation during the shaping process.
-
Apply Water Pressure: Activate the machine and fill the tubes with water at high pressure. The high-pressure water causes the tubes to expand and conform to the molds' shapes. This method ensures that the tubes form seamless, uniform bottles with the appropriate size difference for the inner and outer tubes.
At this point, you will have shaped the stainless steel tubes into the initial form of your insulated water bottle.
Step 3: Creating the Bottom
For this step, you will need stainless steel sheets (0.5 mm to 1 mm thick), welding equipment (preferably TIG welding), a metal cutting shear, and rubbing alcohol.
-
Measure and Cut: Measure the diameter of the bottom openings of both the inner and outer cylinders. Use a metal cutting shear to cut round pieces from the stainless steel sheet that match these diameters precisely. The inner cylinder's bottom piece should be slightly smaller than the outer cylinder's bottom piece.
-
Prepare for Welding: Clean the bottom edges of the inner bottle and the cut piece with rubbing alcohol to remove any grease or contaminants. This step ensures a strong and clean weld.
-
Weld the Bottom: Position the cut piece at the bottom of the inner bottle. Use a TIG welding torch to weld the piece to the bottom, ensuring a continuous, smooth weld without gaps or weak points. The outer bottle's cylinder will be left off until the two bottles have been welded together.
Step 4: Threading the Neck and Creating the Lid
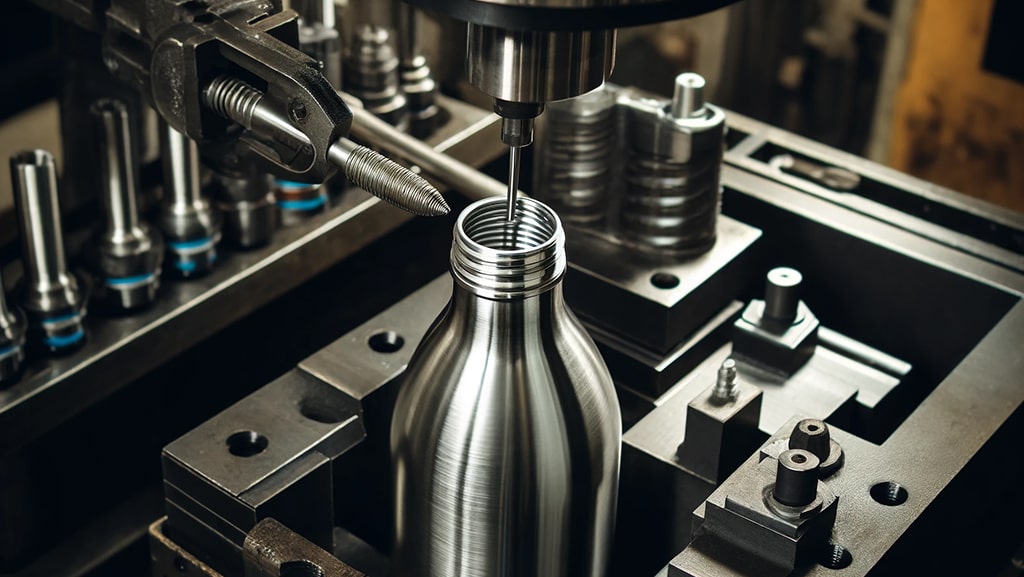
A threading machine is required to create the bottle's lid and mouth. Threading machines can often be rented from home improvement or hardware stores.
-
Threading the Cylinder: Transfer the outer bottle to the threading machine. Ensure correct positioning to achieve accurate and consistent threads. Set the machine to the desired thread pitch and depth according to ISO metric standards. Cut the threads smoothly and consistently, inspecting for defects using gauges.
Creating the Lid:
Note: If you have access to a 3D printer, this step can be ignored—simply 3D print a lid for the bottle based on the diameter and threading.
-
Cut and Shape Plastic: Cut the polypropylene into a cylinder slightly larger and taller than the neck of your bottle. Then, drill a hole into the cylinder at the same depth and width as the neck, accounting for the threading.
-
Thread the Lid: Use a threading machine to create threads on the hole in the plastic cylinder. Ensure they match the thread pitch and depth of the bottle's mouth for a secure fit. This step is vital for ensuring the lid screws on tightly, preventing leaks.
-
Assemble the Lid: Press-fit additional components, such as silicone seals, to enhance the lid's functionality. These components can help maintain the bottle's insulation and ensure a leak-proof design.
Step 5: Cleaning and Polishing
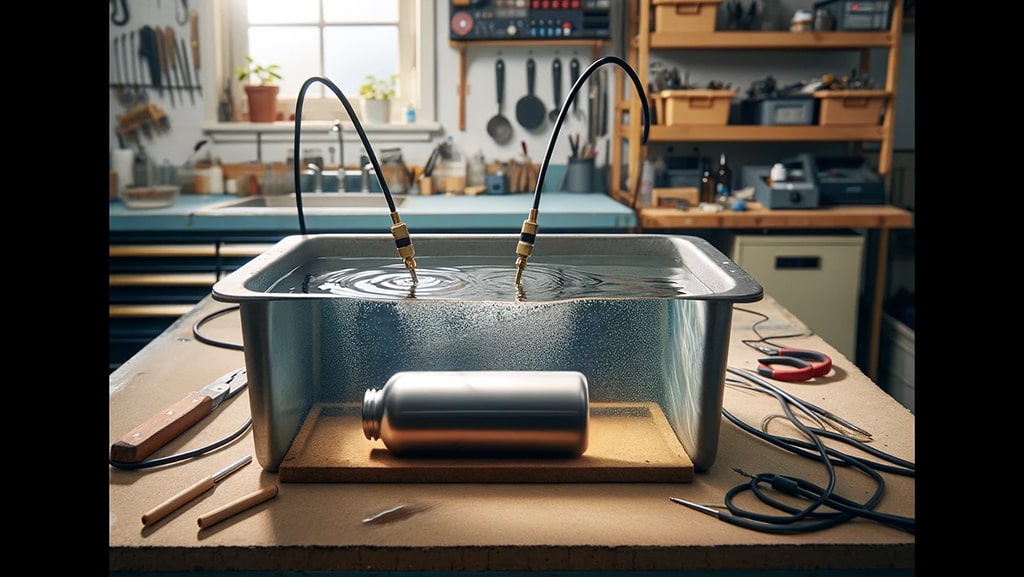
In this step, we thoroughly clean and polish our components with an electrolysis bath.
-
Wipe Down: Clean the surface of the tumbler with a cloth soaked in rubbing alcohol or acetone. This step removes any grease, dirt, or contaminants that might affect the polishing process.
-
Set Up Electrolysis Bath: Prepare an electrolysis bath with a food-safe electrolyte solution. This setup includes a container filled with the electrolyte solution and a power supply to create an electric current.
-
Submerge Parts: Submerge the stainless steel parts of the bottle in the electrolysis bath. Ensure that the parts are fully immersed and properly positioned.
-
Apply Current: Connect the tumbler to the power supply and pass an electric current through the solution for 30 minutes to an hour. This process removes a thin layer of metal, smoothing and polishing the surface to a mirror-like finish. It also ensures that all surfaces are food-safe.
Step 6: Assembly and Welding

For this step, you will need the inner and outer stainless steel cylinders, TIG welding equipment, and the bottom of the outer cylinder.
-
Insert Inner Cylinder: Insert the inner cylinder into the outer cylinder from the bottom, ensuring it is centered with a uniform gap between the two. This gap is crucial for creating the vacuum insulation later.
-
Weld the Mouth: Position the mouth of the inner cylinder to align with the outer cylinder's neck. Use a TIG welding torch to weld the mouth of the inner cylinder to the outer cylinder's neck. Ensure the weld is smooth and continuous, creating a strong seal between the two cylinders.
Weld the Bottom of the Outer Cylinder
-
Line up pieces: Position the previously prepared bottom piece at the bottom of the outer cylinder.
-
Welding: Weld the bottom piece to the outer cylinder, ensuring a continuous, smooth weld.
This step seals the outer cylinder, preparing it to create the vacuum.
Step 7: Creating the Vacuum
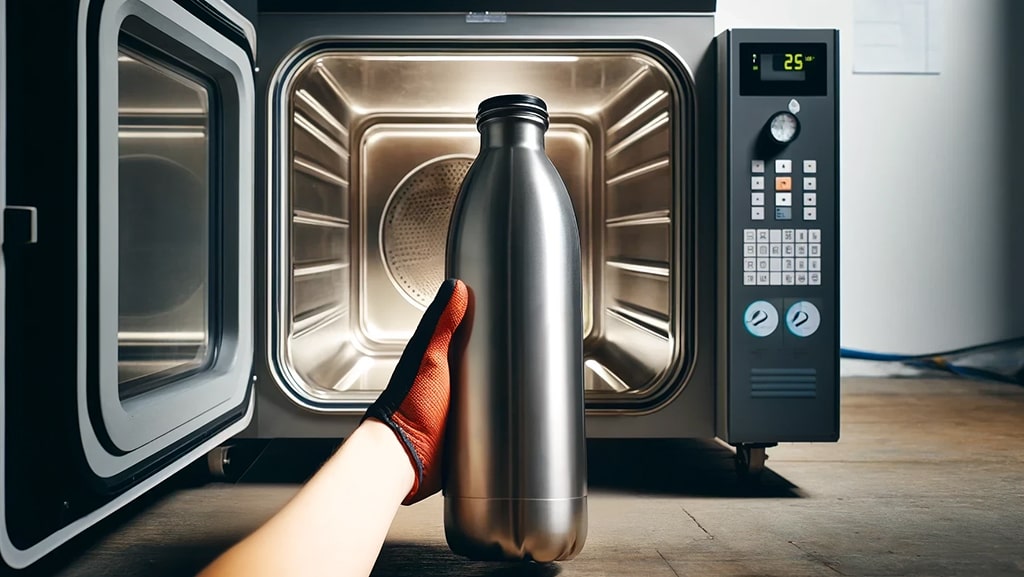
For this step, you will need access to a vacuum chamber with a heating function capable of reaching 500 degrees Fahrenheit and soldering material.
-
Create a Hole: Drill a small hole in the bottom of the outer cylinder. This hole will be used to evacuate the air from the space between the inner and outer cylinders, creating the necessary vacuum for insulation.
-
Place in Vacuum Chamber: Ensure the vacuum chamber is clean and properly set up for the process. Place the assembled bottle upside down in the vacuum chamber, with the drilled hole facing up. Cover the hole with a piece of solder. This setup allows the chamber to evacuate the air and seal the hole with the solder.
-
Activate Vacuum and Heating: Activate the vacuum chamber to evacuate air from the space between the cylinders through the drilled hole. Monitor the pressure gauges to ensure a complete vacuum is achieved.
-
Heat the Solder: Once the vacuum is achieved, heat the chamber to 500 degrees Fahrenheit, melting the solder and sealing the hole. This process ensures that the vacuum layer is sealed properly.
At this point, you will have successfully created the vacuum insulation for your steel water bottle.
Step 8: Insulation Testing
-
Heat the Interior: Use a heat gun (or blow dryer) to blow hot air inside the tumbler, ensuring it reaches a high temperature. This step simulates the bottle's conditions when filled with hot beverages.
-
Measure External Temperature: Measure the outer surface temperature of the bottle. If the vacuum insulation is effective, the exterior should remain cool. This test verifies that the vacuum seal works properly and that the insulation functions as intended.
Step 9: Painting the Bottle
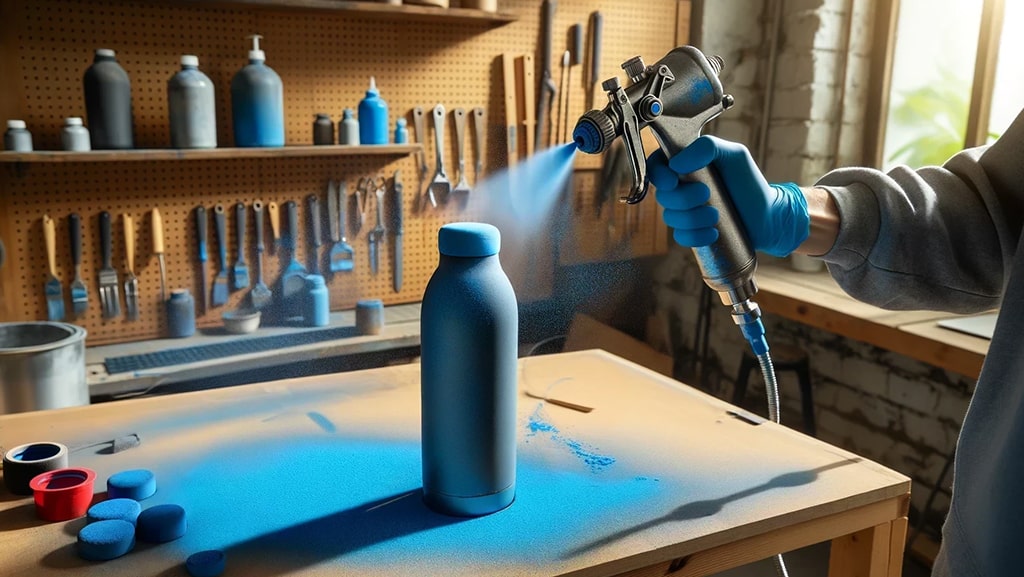
For painting, you can use a powder coating or appliance spray paint.
-
Prepare for Coating: Ensure the tumbler is clean and dry. Any residue or moisture can affect the adhesion and finish of the coating.
-
Apply Coating: Apply the powder coating or spray paint evenly to the bottle's exterior. Use smooth, consistent strokes to avoid drips or uneven coverage.
-
Cure the Coating: Allow the coating to cure according to the manufacturer's instructions. Curing can involve placing the bottle in a curing oven or air drying it, and is essential for a durable coating.
Step 10: Final Cleaning
Finally, let's clean up our water bottles for use! Ensure you don't start the final cleaning until the coating has completely cured.
-
Prepare Cleaning Solution: Mix a small amount of mild detergent in a basin or sink with warm water. Ensure the solution is well-mixed and sudsy.
-
Clean the Interior and Exterior: Dip a soft cloth into the soapy water and thoroughly clean the tumbler's interior and exterior surfaces. Use a brush to clean hard-to-reach areas.
-
Rinse and Dry: Rinse the tumbler thoroughly with warm water to remove all soap residues. Dry the tumbler with a soft, clean cloth.
-
Final Inspection: Inspect the tumbler for any remaining dirt or soap residue. If any spots were missed, repeat the cleaning process as necessary to ensure the tumbler is completely clean.
DIY Insulated Water Bottles: How Practical are they?
Time and Skill Requirements
Creating a DIY insulated steel water bottle is a complex and time-consuming process that requires advanced manufacturing skills, including measuring, cutting, welding, and threading. Each step demands precision and careful execution to ensure the final product is high quality and functional.
Cost Analysis
While the DIY approach offers a sense of accomplishment, it can be costly. The materials and specialized equipment needed for this project can add up, making it more expensive than purchasing a ready-made insulated bottle.
Quality Control
Ensuring consistent quality in a DIY project is challenging. Professional-grade insulated bottles undergo rigorous quality control processes to guarantee durability and performance. In a DIY setup, achieving the same level of precision and consistency is difficult without professional tools and expertise.
Custom Vacuum-Insulated Water Bottles: The Logotech Difference
At Logotech, we can produce high-quality custom water bottles with professional-grade materials and precision manufacturing techniques. Our expertise ensures that each bottle is crafted to the highest standards, providing reliable insulation and durability.
Ordering from Logotech offers a wide range of customization options, branding opportunities, the ability to place bulk orders, and more! Custom bottles can be tailored to meet specific design and functional requirements, ensuring a unique, high-quality product.
In Summary
Creating a DIY insulated steel water bottle is possible but requires significant time, skill, and resources. The complexity of the process and the need for specialized equipment make it a challenging project. For those seeking high-quality, durable, and customized insulated water bottles, partnering with Logotech is an excellent choice! Whether you choose the DIY route or partner with a supplier like Logotech, good luck on your custom water bottle journey!
Frequently Asked Questions
Q: How long does it take to complete this DIY project?
A: The project can take several hours to multiple days, depending on your skill level, equipment access, and the complexity of the design.
Q: What are the main challenges in making a DIY insulated water bottle?
A: The main challenges for this project are access to specialized equipment, advanced welding and threading skills, and maintaining consistent quality.
Q: Is it cost-effective to manufacture a DIY insulated water bottle?
A: Manufacturing an insulated water bottle can be more expensive than purchasing a ready-made one due to the cost of materials and equipment.


