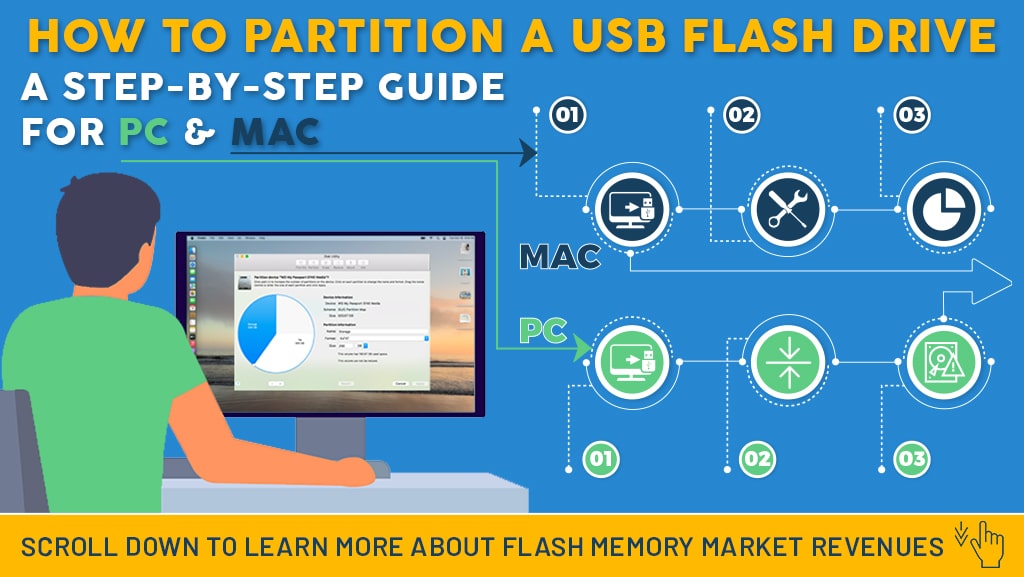
How to Partition a Flash Drive on PC and Mac
Partitioning a USB drive sounds complex, but it's really not!
Partitioning is a necessary tool for any memory storage, where you create separate logical sections on a storage device that a computer can access separately. Many people might not know how to partition a USB drive, but it's rather simple; you can generally utilize the built-in tools of your operating system, like Disk Management on Windows or Disk Utility on macOS. You can also use third-party tools like GParted or DiskGenius. The process involves shrinking the existing volume, creating a new partition, and formatting it with the desired file system.
What is partitioning a USB drive?
Partitioning a USB hard drive involves splitting the flash drive into separate segmented parts, which your computer will access separately. Think of your flash drive as a large storage bin. Partitioning the drive is like placing dividers into the bin so that there are individually contained storage sections. That allows you to perform certain functions with the drive that you couldn't before, like encrypting a particular section of the drive or organizing the stored memory. But is it necessary to partition your USB drive?
Why partition your flash drive?
It is not necessary to partition your USB drive to use it! Unless you need to perform a specific function requiring a partitioned flash drive, leaving your drive whole is actually better. You might need a partitioned flash drive for many reasons– creating a bootable USB drive to run or install programs, changing the file storage format, encrypting a section of the drive, or organizing the storage volume. Whatever your reasoning, partitioning is much simpler than it sounds. The process of partitioning your USB hard drive does vary a bit depending on if you're using a Windows or Mac computer; thankfully, the processes are not complicated! In the next section, we'll review how to partition a USB thumb drive on both Windows on Mac.
Note: It is possible to lose some or all files on your flash drive during partitioning. Make sure you back up all files on your drive before beginning.
How to partition a USB drive on Windows
1. Connect the USB and launch disk management
To start, connect your USB drive and right-click the Start button on the bottom left of the screen—select Disk Management Utility from the menu. In disk management, your USB drive will appear in the list of drives at the top of the window.
2. Select the correct format
Your flash drive will need to be formatted to the NTFS file system—Right-click on your USB Drive from the list of drives and select 'format.' Where 'file systems' is listed, ensure NTFS is selected. If FAT32 is listed, click on the drop-down menu, select NTFS, and press OK. Formatting file systems from FAT32 to NTFS will erase the contents of your drive, so ensure you've backed up your files before you begin partitioning.
3. Shrink volume
Locate your USB drive on the bottom panel and right-click it. From the menu, select 'shrink volume'; this prompts the shrink menu, which lists values for 'total size before shrink,' 'size of available shrink,' and space to 'enter the amount of space to shrink in MB.' Use the 'size of available shrink' to inform how much space you put in your partition. Enter the amount and select shrink.
4. Simple volume wizard
After you advance from the shrink volume window, the bottom panel of the disk management window will display 'unallocated space' next to your USB drive with the amount of space you selected. Right-click on the unallocated space and select 'new simple volume' from the menu to launch the simple volume wizard; this is where you determine the settings for the partition you've created. Click next, and under the maximum and minimum disk space, you will be prompted to enter the simple volume size for your partition. Enter the maximum value if this is the only partition you're creating. Otherwise, enter whatever storage volume you want in this partition, and click next. Assign a letter to the partition and select formatting settings; keep the default formatting settings unless you need something different. Click next, and your new partition will appear next to your USB drive.
How to create multiple partitions on a USB drive for Windows
To create multiple partitions on a Windows USB drive, all you have to do is repeat step 4! When entering the simple volume size for your partition, enter less than the maximum disk space. After you finish that partition, the remaining unallocated space will still be on the bottom panel of your disk management window. Right-click on that unallocated space to create another partition, and repeat as many times as necessary.
How to partition a USB drive on Mac OS
1. Connect your USB drive and launch disk utilities
Plug in your USB drive and open Finder. Go to applications, open the utilities folder, and select 'disk utilities.'
2. Locate the USB drive in disk utilities
Next, locate your USB drive on the left-hand panel of the disk utilities window. Select your drive and click partition in the toolbar at the top of the screen.
3. Partition your drive
In the pop-up window, select 'partition' to advance to the next screen. This screen will have a pie chart on the left-hand side and settings for the partition on the right. Click and drag the handle on the pie chart to determine how much space you would like partitioned. Then, enter a name for your partition and choose a file format. If you need to use this drive on other operating systems, use ExFAT or FAT formats. If not, you can leave it in APFS format. Click apply to create your new partitions; disk utilities will summarize the changes being made. Click 'partition' one more time, and you're all set!
How to create multiple partitions on a USB drive for Mac OS
Creating multiple partitions with OS is easy. Under the pie chart in the partition screen, click the plus symbol (+) to add another partition. You can also use the minus button (-) to remove unwanted partitions.
Partitioning a USB drive sounds intimidating, but once you know what you're doing it's a walk in the park! Logotech offers the largest online selection of USB flash drives with the best prices, and customization is our specialty! Reach out today and learn more about our custom flash drive options by calling (888) 244-5152 or using our website's chat function.


